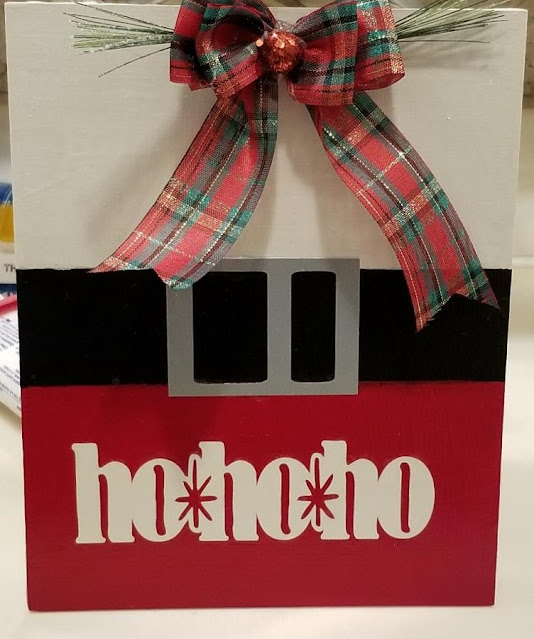
Today I want to show you a really cute and super simple craft... a "Ho Ho Ho" sign.
1. Gather your materials.
2. I used an 8x10 thin wooden panel board. Paint half your board with white acrylic paint and the other half with red leaving some blank space in between them. Let dry. Repeat. (Clean your foam brush before moving to another color, or have a dedicated foam brush for each color.) I pour my acrylic paint onto a paper plate instead of a palette so I can throw it away when I am finished.
3. Use painter's tape (and a ruler to make sure you put it on straight) to mark where you want the black "belt" to begin and end. Paint the belt black. Let dry. You may want two coats. When everything is completely dry, carefully remove the painter's tape.
4. I cut the silver buckle on my Cricut, but you could fussy cut it or make a different type of belt, but we all know Santa needs one.
5. I cut the words "Ho Ho Ho" with Cardstock using my Cricut Explore Air 2, but you can use any cutting machine. I chose to make it white, but you could also use black or silver. Use Mod Podge to adhere the words to the bottom section. Apply with a clean foam brush. Go over the entire board with Mod Podge. Let dry. Repeat.
6. Add a bow and greenery at the top using hot glue. I added an optional mini-ornament to the bow.
7. Use a staple gun to attach a piece of twind or ribbon for a hanger. Place the middle of the length of ribbon or twine on the center back of the board. Tie the loose ends in a knot, and that's it!
Here is my list of supplies (Affiliate Links)
Acrylic paint in red, black, and white.
Standard Grip Cutting Mat (This pack of 2 is on sale now for 50% off!)
Christmas Ribbon - I had on hand
Christmas greenery - I had on hand
Twine or ribbon
Visit Crafty Creators for more inspiration!


No comments:
Post a Comment